A charging location and the route that connects it
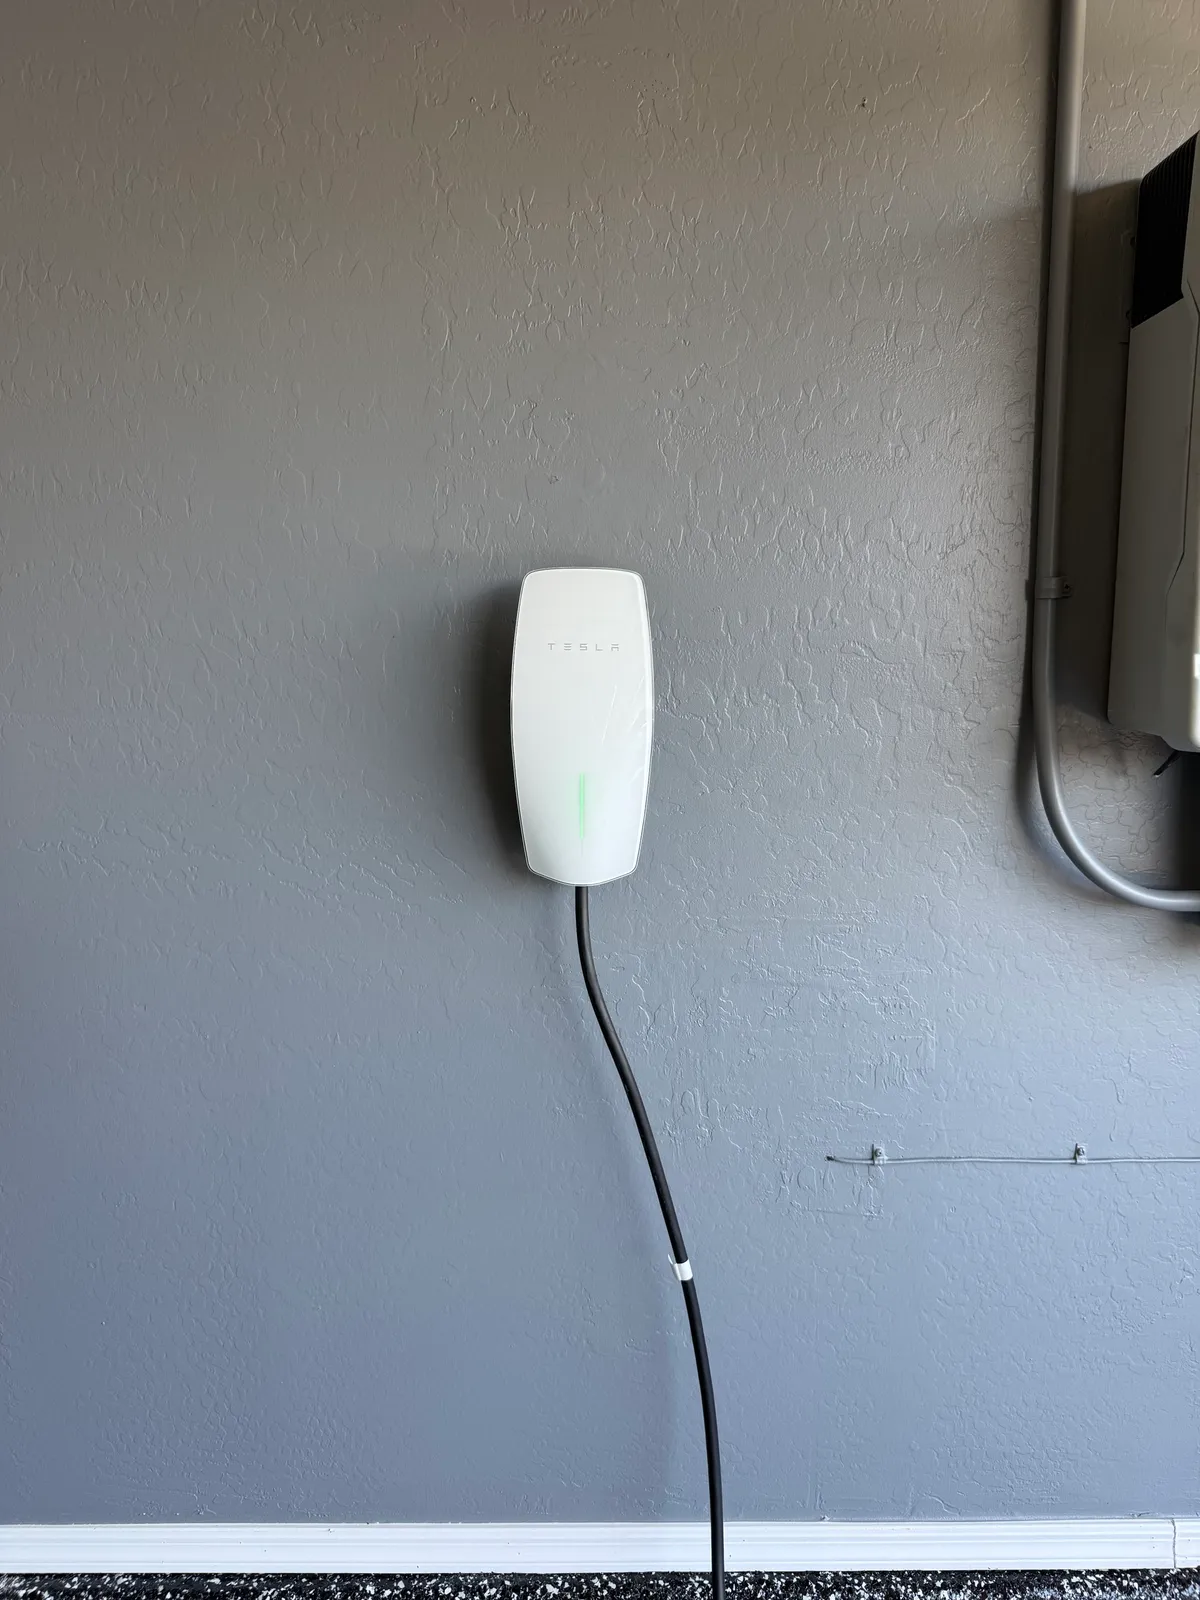
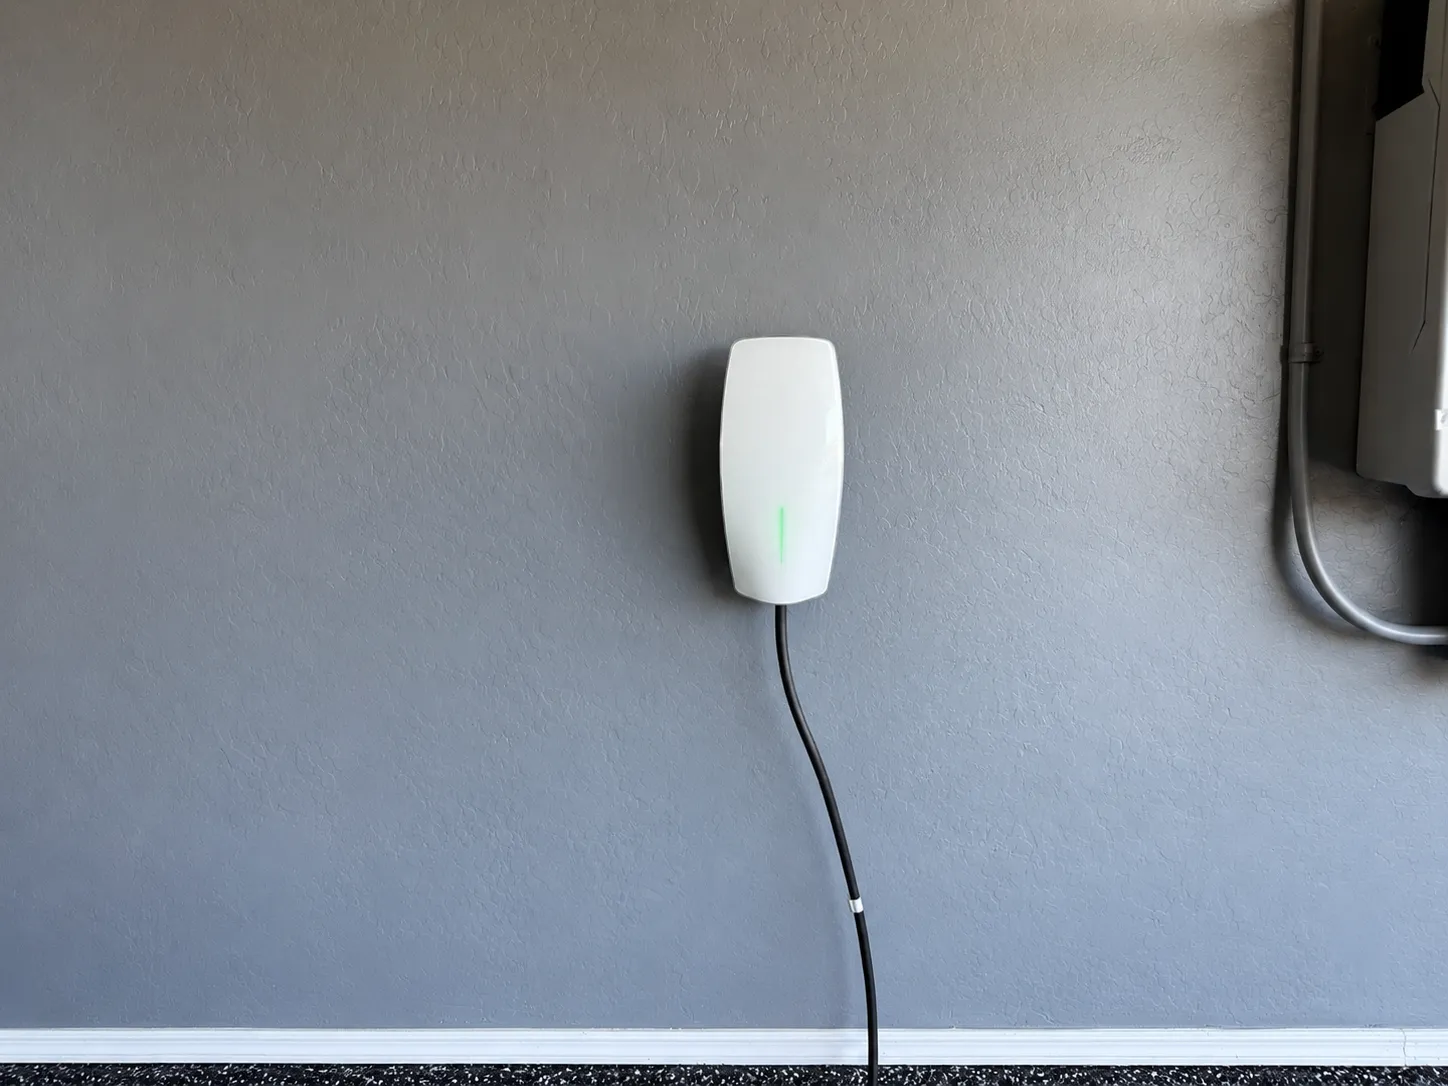
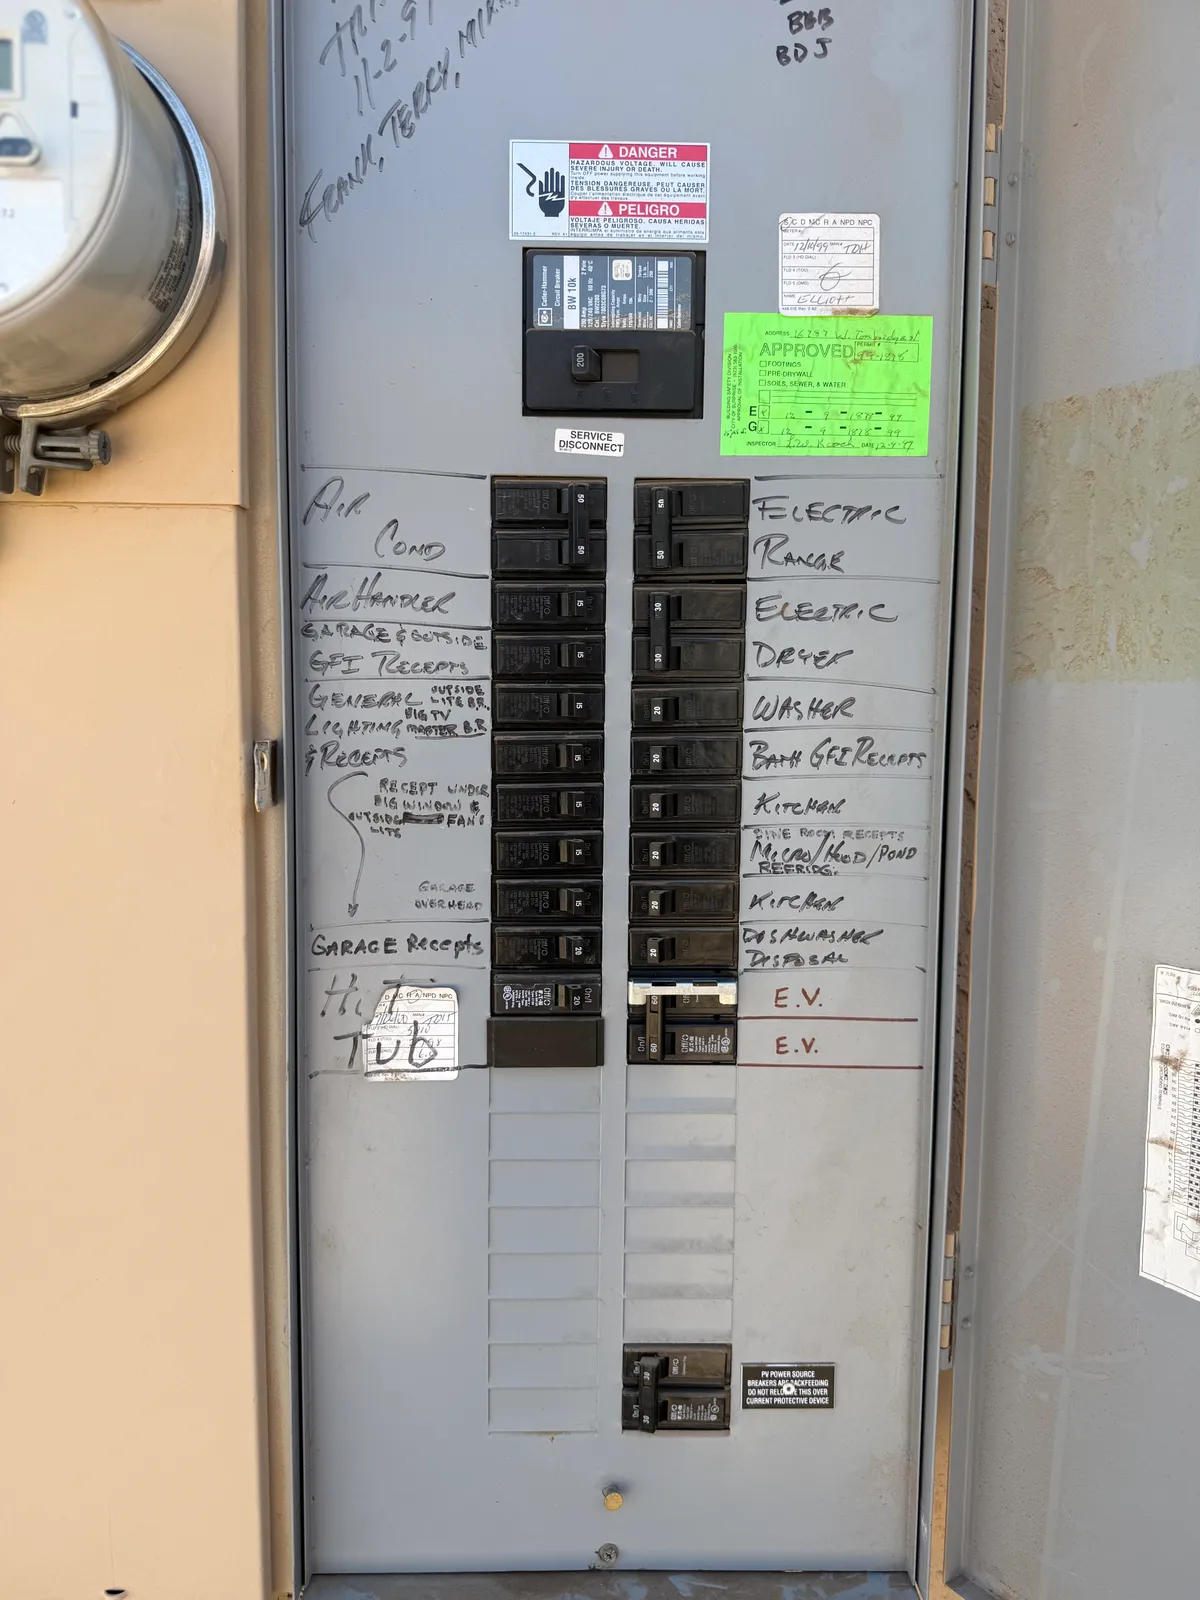
Installing the charger is one part of a home-charging project. The route back to the electrical panel also needs a plan. This Surprise installation brings those parts together: the gallery shows the Tesla unit at the wall, the conduit route and the electrical panel at different stages of the work.
Looking at the route alongside the finished charger gives a clearer picture of the installation than a product photograph alone. It is also useful when discussing a new project: two homes using the same charger can need very different amounts of wiring, access and supporting electrical work.
What the installation photographs show
The completed-unit photographs show the wall-mounted charger and its connection route. Other views show charger wiring and the panel with its cover on and off. Together, they document the equipment location and the circuit work behind the finished installation.
For a new quote, photographs of the outside of your panel and the intended parking space are a useful starting point. Leave panel covers in place; there is no need to expose wiring to prepare an enquiry.
Planning a Tesla charger for your home
Start with your vehicle, the exact charger model, where you park and the available cable reach. The electrician can then assess electrical capacity and the route. A service upgrade is not automatically required because you are adding a charger; the existing loads and suitable equipment options need assessment.
Confirm who supplies the charger and whether the quote includes the circuit, mounting, conduit, configuration and any required permit or inspection coordination. Trenching, concealed wiring, wall repairs and utility work should be identified separately when relevant. Charging performance depends on the vehicle, equipment and selected settings.
From this installation